-
-
How to remove a knife
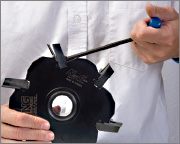
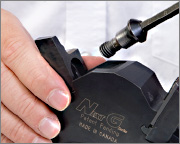
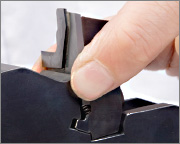
1) Unscrew the rear Back-Clamp 3 or 4 full turns. No need to hold the knife while turning.
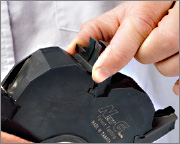
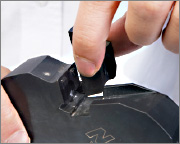
2) With one hand, hold the side edges of the knife then push it down to unlock it. You will feel the spring loaded system.
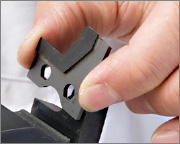
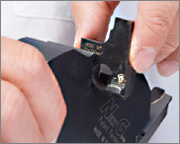
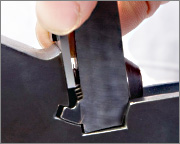
3) Move the knife against the Back-Clamp surface and slide it outward in order to remove the knife from the system.
4) Carefully place the knife in a secure area to prevent damage to the diamond edge.
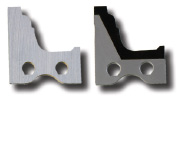
How to change a profile back-clamp
1) Hold the back-clamp when removing the scew to prevent it falling out.
2) Slide the back-clamp of the side of the head. Clean the head’s seat with an air gun to remove any wood dust.
3) Insert your new back-clamp. Ensure its Sf value does not exceed the Sfmax value of the head and that the hook angles match.
4) Tighten the screw completely without a knife installed. Then unscrew 3 turns to open the back-clamp.
How to insert a knife into the head
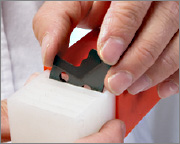
1) Hold the side edges of the knife and slide it along the back-clamp surface till you feel the spring load system.
2) Push the knife to compress the springs and move it forward against the head’s seat surface in order to lock it.
3) Screw the rear Back-Clamp. Do not hold the knife, it is self-positioned.

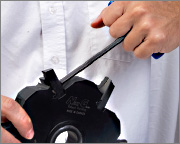
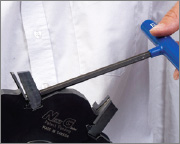
4) Firmly hand tighten the screw to a min. torque of 16 N.m (11.5 lb. ft.). You can easily reach this torque requirement with the provided screwdriver.
How to run the Next G in your machine
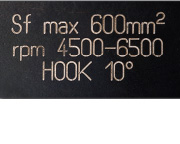
1) Check that the machine RPM is within the RPM range printed on the tool’s body.
2) Install the tool on the machine. You don't need to worry about the radial adjustment, as the knives are sharpened to a constant small diameter.
3) You can change from a carbide insert to a diamond insert using the same back clamp. New profile inserts require a new back-clamp.
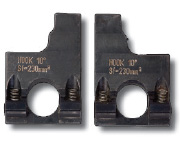
4) Each back-clamp can be used in any Next G Body of the same width and with a matching hook angle. Check the hook angle etched on the back clamp and the body.